No products in the cart.
Networking
airFiber – Understanding Half/Full Duplex
23
Jul
Jul
Understanding Half and Full Duplex
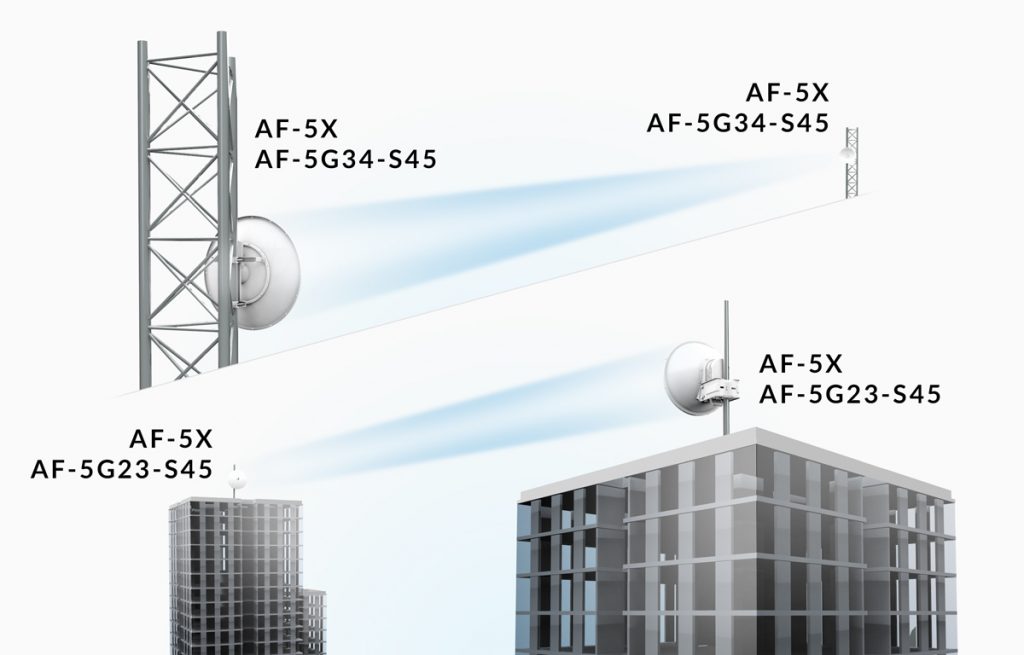
Think of any AirMax and AirFiber X-series products and think half duplex. With those products you choose one frequency and width. Both the AP and CPE use that same frequency/width to send data in both directions. The AF5 and AirMax both do it by taking turns sending data, one side at a time. While there are large technical and hardware differences in how AirMax and Airfiber send data using a single channel, just remember that in both cases it’s one side sending at a time. That’s the AF5 in half duplex and AF-2X/AF-3X/AF-4X/AF-5X.
If you are used to picking a single open channel using AirMax, or replacing another half duplex link, using half duplex with AF5 or any AF-X model will seem very familiar and easy to understand. Just pick a channel that’s open on both sides and use it for both directions.
One very important thing to understand, is that Half Duplex with AF5 is not half speed. It’s not like Half Duplex ethernet where you use fewer wires and run at half the speed. With AF5, you get the same throughput per spectrum used, in both Half and Full Duplex. It’s not whether you use half or full that determines throughput, it’s the amount of spectrum you use. And in fact, under some conditions, Half Duplex will provide better total throughput than Full Duplex.
The other important Half Duplex difference between AF5 and Airmax is the AF5 send/receive time slots are fixed, while in AirMax they’re variable. Airmax will adjust the time slots for the direction that needs it most at any given time, being able to assign nearly all the bandwith to one direction. But in AF5, in order to keep the latency down, it doesn’t have time to make those adjustments. The send/receive time slots or Duty Cycle are fixed so both sides can instantly transfer any data that comes along. In V2.1, the Duty Cycle is always 50% which means 50/50 send receive. Since firmware version 3.2 of the firmware could choose among different duty cycle menu choices like 75%, which would mean 75% download and 25% upload, and 67%, which mean 67% download and 33% upload.
There are more advanced ways to use Half Duplex, but we’ll skip those for now and move on to Full Duplex. With Full Duplex, you use separate channels for each direction. One channel is exclusively used for transmission, and another different channel is exclusively used for reception. Both sides can send at the exact same time, hence the name Full Duplex.
Because each frequency is only used in one direction, the one way flow is doubled compared to half duplex. But, in order to send in both directons, you now need two channels and more spectrum. Important to remember that any speed increase in using Full Duplex, is only achieved by increasing the use of spectrum.
Using Full Duplex does have some interesting advantages. One, is that if each end of the link has noise on a different frequency, you can independently tune the best reception frequency for each side based on noise detected. You no longer have to find a common ground channel that’s open on both sides.
The other advantage of Full Duplex is the channel width of each direction can be different. You can provide a wider channel for faster downloads, and a narrower channel for uploads and save spectrum by doing that.
How to Pick a Channel
Now lets use the above information to pick a channel to use. The first step is always running AirView from both ends to find free channels. If you’re not sure whether you have free channels that justify the purchase of a pair of AF5’s, you can use an AirMax dish pointed in the same direction to get a pretty good idea of the spectrum available. Run the AirFiber AirView for at least 15 minutes to find all the traffic on the various channels. Then carefully look where you could squeeze a channel and the width available at that spot, and most important the center frequency of the open slot.
AirFiber is very flexible and doesn’t force you to pick a real channel. If you can find a swath of free spectrum, you can specify the middle and make your own channel. Write down all the center frequency and the width available at that frequency. For example 5790 – 22wide. 5753 – 36 wide, etc.
The next step is to use the Link Calculator built into AirFiber and set the distance of the link and the required thoughput capacity in each direction. Specify the distance accurately, it makes a big difference. If you need less download than upload, then specify that in the right two columns of the Calculator. Add the download and upload required together to include in the left most half duplex column (in V2.1 half duplex upload and download need to be the same). To get accurate throughput results, include a fade margin of 6 at the top. Then hit Calculate and it will tell you the amount of spectrum you will need to achieve that capacity at that distance. Pay attention to the tx dbm on both sides. If they exceed 30 dbm, then you cannot use the DFS channels. You’re limited to 5.8 (or 5.1 – 5.3 when available in AF5) in the U.S. depending on which model AF5 you have.
Now look at the results of the Link Calculator, and compare to your AirView available frequency list. If there’s a result on the half-duplex left side of the Link Calculator that fits your needs, then specify the center frequency of the quietest channel of that size, and set to half duplex and you’re done. Make sure to set the tx to the level in the Link Calculator says to use as a starting point. Using too much power, especially above 44-45 dBm can often make things worse.
If you can only achieve the required throughput by using the right side of the Link Calculator, then you need Full Duplex. Find an available channel for your tx side and a second for the rx side. Set Full Duplex, set the widths of each direction and you’re done. When using Full Duplex, compare the AirView from both sides, and pick the quietest channel for a given side, and use that channel to tx from the other side. You want each side to receive the quietest channel. Also make sure there’s a space between the channels. Other wise they’ll bleed over and self interfere. The bigger the space between channels, the better things will be.
Full Duplex can self interfere if the power is too high, and the channels too close. Cranking the power to the max is counter productive with Full Duplex. Between 43-45 dbm seems to be a limit above which higher constellations can’t be maintained and performance will start to drop.
If you don’t have free channels of a given width, you will have to settle for less throughput. Uncheck the boxes at the bottom of the Link Calculator for any channels wider than you have available, or want to use. And Click Calculate again. If you get a blank response, lower the bandwidth requirements until you get results again.
Now getting back to half duplex. You don’t have to use just a single channel for half duplex. Nothing says you can’t use one for each direction. But the AF5, will still only send in one direction at a time, so this can waste spectrum. But using two channels in half can actually be very useful at times. Let say you can only find a different 20 wide free channel on each side of the link. And they both overlap with 10 shared width in the middle. You can’t use full duplex because they will self interfere. Or you could settle for the common 10 wide in the middle. But the best solution is to use half duplex with two slightly different channels, Because each side sends one at a time, you won’t self interfere in the middle 10, and the increased bandwidth allowed by this will double your throughput compared to settling for the shared 10 wide in the middle.
Thats the basics. After using the AF5 for a while, you’ll appreciate all the frequency flexibility the development team built in.